Chalk Paint Cabinet Makeover
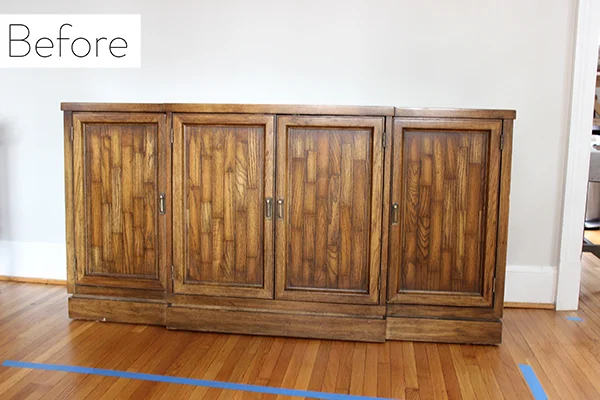
I'm moving fast and furiously on decorating our dining room antsy to check off my to-do list and have at least one room in the house feel put together. I mentioned last week that I've been trolling Craigslist for a buffet that I could makeover to save some $$$. Here is the before, a four door, outdated mid-century solid wood buffet I spotted on Craigslist and picked due to its four doors, the side doors that set back from the center two. It had potential.
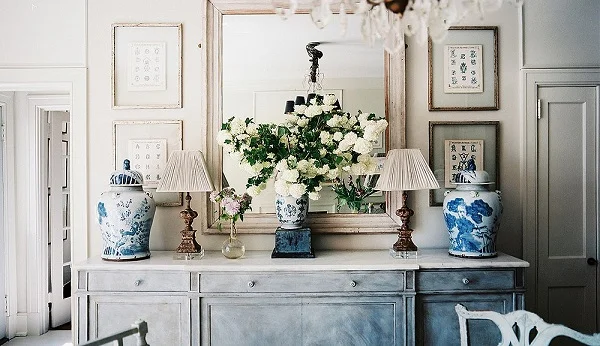
My inspiration
After looking into different options, I decided chalk paint would be the best way to get the dimension I was looking for, and I couldn't ignore the siren calls that you don't have to do ANY priming or sanding. Just paint. Too good to be true?
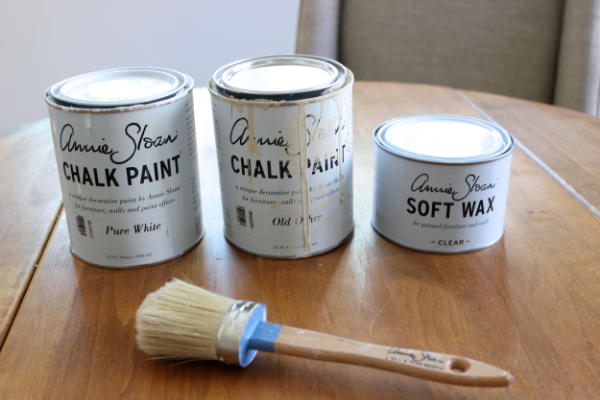
No! You really don't have to sand or prime with this paint. It's amazing. Being my first time using chalk paint, I went with the line from the founder herself, Annie Sloan. Although, I will say her stuff is hard to get to in Atlanta. I found this shop in Smyrna called, The Honeybee that is an official vendor of her paint. After seeing some sample furniture in store, I made a game time to decision not to follow my inspiration photo and go for a lighter look. I picked Old Ochre as the base which has beige undertones, Pure White on the top and soft wax in clear to finish.
Here’s how I updated this piece
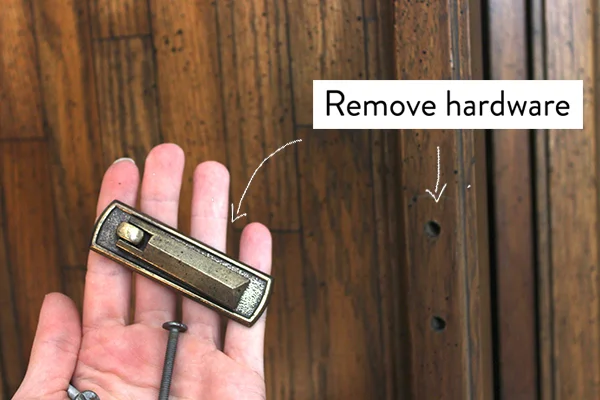
1. Remove Hardware
Usually when you're painting with chalk paint, you're going for an antique look. Because of this, the technique actually says not to remove the hardware, but since I wanted to replace the hardware and move it that was my first step.
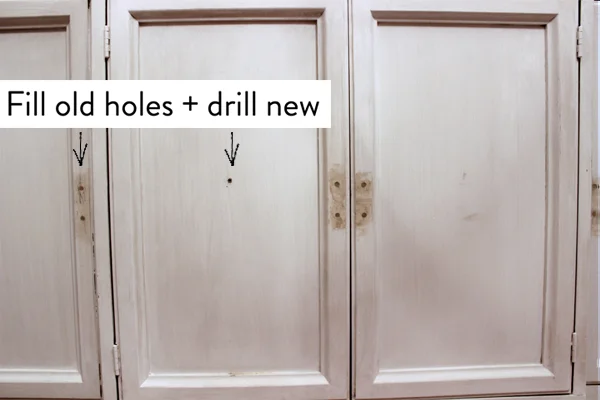
2. Fill old hardware holes + drill new holes
Next, I painted the first layer of Old Ochre on the furniture. I'd recommend if you're replacing hardware and moving its placement that you wood fill those holes before painting to reduce steps. I used Elmer's wood filler and a putty knife to fill the holes and drilled new holes in the center of each door. (I have to apologize for some of these crappy photos, when I said I was a bit obsessed with this project that meant many hours working on it at night after work).
To apply the wood filler you get a dollop of it on your putty knife. Then you use the knife to push the material into the hole. Using the flat side of the knife, scrape off the excess. You may need to do this, let it dry and re-apply a few times to fill the hole completely. Once dry, lightly sand the spot and paint.
3. Test New Hardware
I always like to test elements as I go along in a project, so I installed the new hardware to make sure I liked the general direction I was going. These antique brass finish ring pulls are from an awesome online store called, Look In The Attic—also look-a-likes on Amazon.
You can see in this step why you should fill holes before painting. I had to go back and cover up the filled holes with the old ochre and then pure white as an extra step. This is also a great picture to show the difference between the Pure White and Old Ochre colors.

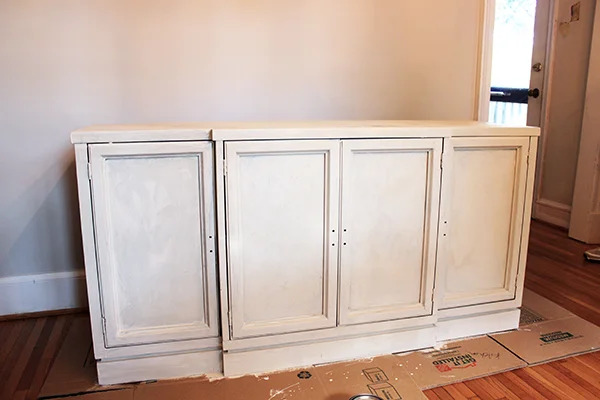
4. Paint Layers + Wax
In this case, my first layer was Old Ochre. I used a chalk paint small brush and applied one coat moving the brush strokes in all different directions. Once dried, I applied the Pure White layer running the brush very methodically from top to bottom and making sure to allow for some of the Old Ochre to show through the paint strokes.
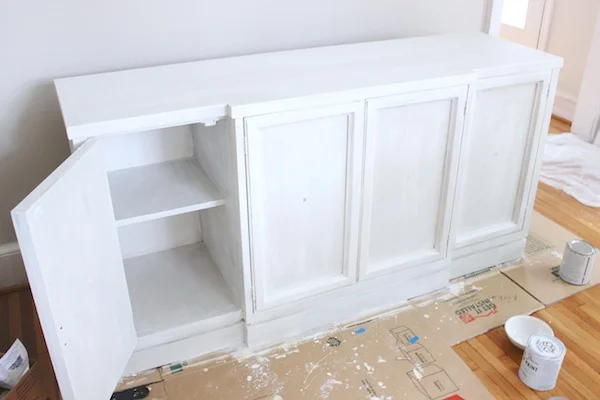
After that dried, I applied a layer of clear soft wax with the brush (making sure to wash it with mild soap immediately after) and rubbed off any excess with a rag. The trick here is to go light on the wax. The last step was to re-install my hardware.
Here’s the final look!
After
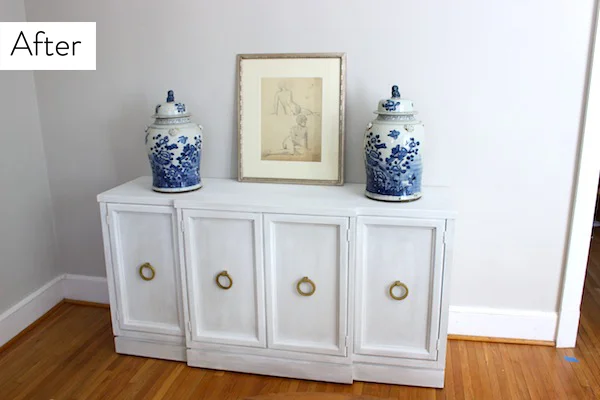
Despite moving away from my inspiration image on the gray/blue buffet color, I stuck with the idea of matching antique blue and white jars. I picked these up at a local antique store in Atlanta, and love that they bring a traditional element to contrast against the contemporary hardware.

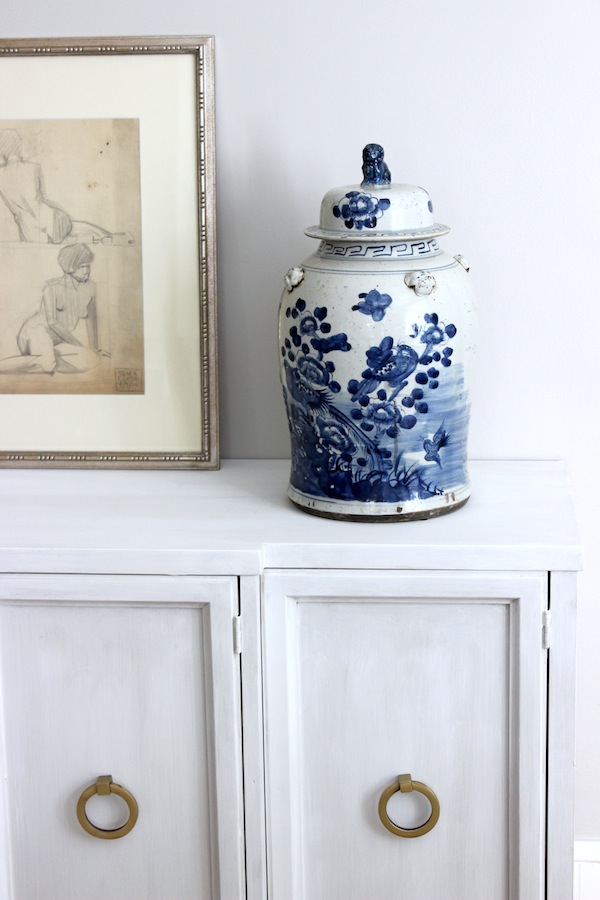
This nude sketch is another one of my favorite pieces I found recently at an Atlanta antique store. I'm not sure it will end up on the buffet, but I really love its muted colors and beaded frame that make it versatile yet classic. I'm in the waiting stage of the game now as ordered furniture gets delivered. I will be sharing another update next Monday. Fingers crossed our table gets here!
Materials
